


Elephants kit video tutorials
Watch the step-by-step videos below to sculpt and paint your elephants. If you have any issues, check out our tips & tricks videos.
WELCOME AND KIT OVERVIEW
Let's start with an overview of the process to sculpt and paint your pieces, the materials in your kit, and how to set up your workspace.

PART 1: SCULPT YOUR POTTERY FROM AIR-DRY CLAY
Step 1: Sculpt the first elephant body and head

Step 2: Add the arms and legs

Step 3: Add the ears

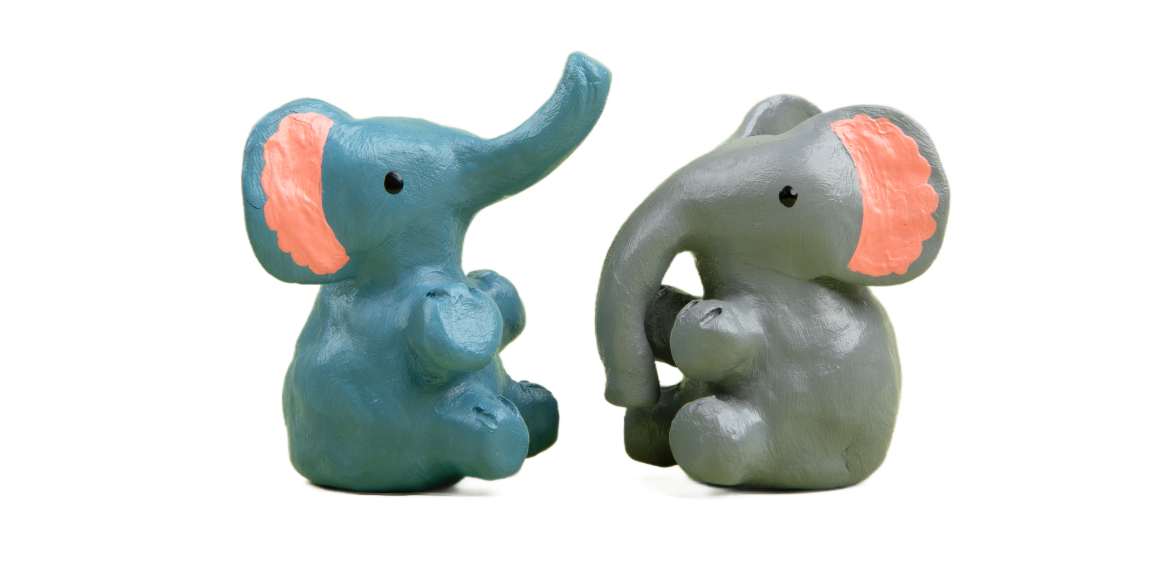
Step 4: Add the trunk. This will be the elephant with the trunk pointing up, later we'll make the other elephant with the trunk pointing down

Step 5: Smooth the surface of the elephant

Now let's make the second elephant. We'll follow the same steps again, but make the trunk pointing down this time.
Step 6: Sculpt the second elephant body and head
Step 7: Add the arms and legs
Step 8: Add the ears
Step 9: Add the trunk. This will be the elephant with the trunk pointing down now

Step 10: Smooth the surface of the second elephant

PART 2: LET YOUR POTTERY DRY
Step 11: You've sculpted both of your elephants now, so next let them air-dry for at least 2 days

Once your pieces are dry, we'll paint them!
Step 12: Quickly confirm that your pieces are completely dry

PART 3: PAINT YOUR POTTERY
Step 13: Paint one elephant gray and the other blue

Step 14: Paint tops, bottoms, and first pink coat on ears

Step 15: Paint second pink coat on ears and black eyes

SEAL AND FINISH BOTH ELEPHANTS
Step 16: Paint the mod podge sealer and finish on the front, sides and back of both pieces

Step 17: This is the final step! Paint the mod podge sealer and finish on the tops and bottoms

Great job!
Congratulations, you've completed your elephants! I hope you absolutely love your clay creations and enjoyed learning pottery!
